


Steps for Preparing Surfaces Before Painting
Learn the essential steps for surface preparation for painting. Discover how prepping walls properly can improve your painting techniques and home repairs.
When it comes to painting and home repairs, preparation is the key to achieving a professional-looking finish that lasts. Surface preparation for painting can significantly affect the outcome of your project. Whether youre prepping walls for a fresh coat of paint or tackling repairs, taking the time to properly prepare the surfaces is essential for smooth application and durability. In this blog, well cover the essential steps for preparing surfaces before painting and repairs, giving you the tools and knowledge to ensure your home looks its best.
Why Surface Preparation Is Crucial for Painting and Repairs
Proper surface preparation for painting ensures that the paint adheres well and lasts longer, avoiding issues like peeling, cracking, and uneven finishes. Whether youre painting a wall or making repairs, the condition of the surface beneath directly affects the quality of the final product. Prepping walls properly removes dirt, old paint, and any imperfections, providing a smooth canvas for new layers.
Heres why preparation is crucial:
Improved Paint Adhesion: Clean surfaces allow the paint to bond better, ensuring a longer-lasting finish.
Smoother Finish: Prepping ensures that your walls or furniture are free of blemishes and imperfections, providing a smooth and even result.
Durability: Proper prep helps the paint and repairs hold up against the elements, reducing the need for frequent touch-ups or repaints.
Essential Steps for Surface Preparation Before Painting
1. Clean the Surface
o Cleaning the surface is the first step in prepping walls for paint or repair. Whether its dust, grease, or grime, a clean surface ensures better adhesion of both primer and paint. Use a damp cloth or sponge with a mild soap solution to wipe down the area. For tougher stains or grease, use a degreaser.
2. Remove Old Paint or Wallpaper
o If youre painting over old paint or wallpaper, you must remove any peeling or flaking materials first. Use a scraper or putty knife to gently peel away old wallpaper, and sand down any rough patches of old paint. If the wall has been painted multiple times, a paint stripper or heat gun may be necessary.
3. Repair Damages
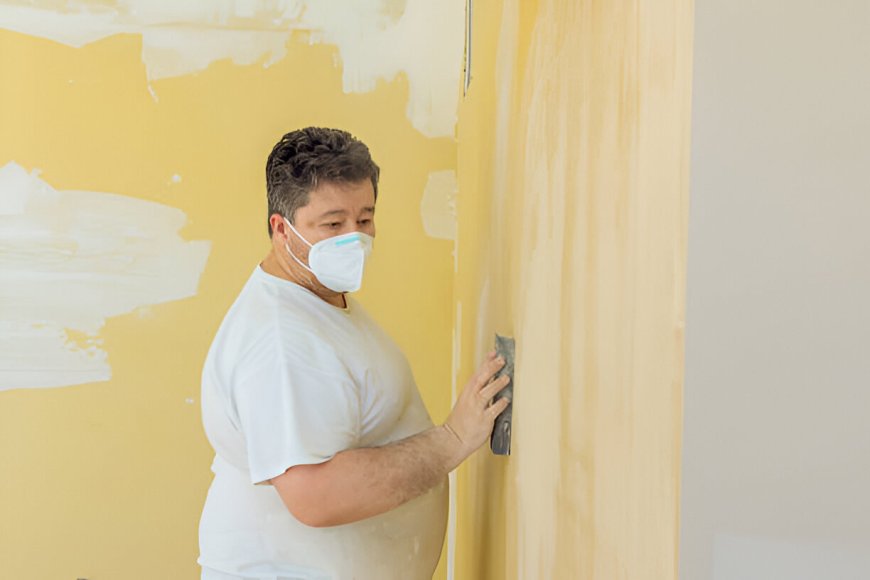
o Before you start painting, check the surface for cracks, holes, or other imperfections. For drywall, use a patching compound or spackle to fill small holes. Larger holes may require joint compound or a patching kit. Be sure to smooth the surface with sandpaper once the repairs are dry.
4. Sand the Surface
o Sanding the surface smooths out any bumps or rough areas that may have been caused by repairs, old paint, or previous surface treatments. Start with a medium-grit sandpaper to level out rough areas, then finish with fine-grit sandpaper to create a smooth surface. Be sure to wipe down the area afterward to remove any dust.
5. Prime the Surface
o Applying a primer is crucial for a solid paint job. Primer creates a smooth, even base for the paint to adhere to. It also helps seal the surface and prevent issues like peeling or discoloration. Choose a primer that matches the type of surface youre working with (e.g., drywall, wood, metal).
6. Use Painters Tape for Clean Edges
o When painting around trim, windows, or baseboards, use painters tape to create sharp, clean lines. Apply the tape along the edges and press down firmly to prevent any paint from bleeding underneath. Remove the tape carefully once the paint has dried.
Essential Steps for Preparing Surfaces Before Home Repairs
Preparing the surface before making repairs is equally important. Whether youre patching a wall, fixing drywall, or tackling other home repairs, here are the key steps to follow:
1. Assess the Damage
o Before you make any repairs, carefully assess the damage. Whether its a hole in the wall, a water stain, or cracked plaster, understanding the extent of the damage will help you choose the right materials and repair methods.
2. Clean the Area
o Cleaning the damaged area is just as important as cleaning before painting. Use a vacuum or a dry cloth to remove dust or debris around the area you intend to repair. A clean surface ensures better adhesion for the repair materials.
3. Prep the Repair Materials
o If youre using plaster, joint compound, or any other repair material, follow the manufacturers instructions to ensure the proper consistency and application. Make sure you have the right tools, such as putty knives or sponges, to apply the repair materials smoothly.
4. Apply the Repair Materials
o For small holes and cracks, apply the patching material with a putty knife. Smooth it evenly and allow it to dry according to the manufacturers instructions. Larger repairs may require multiple layers of compound or plaster, so be patient and allow each layer to dry before applying the next.
5. Sand and Smooth
o Once the repair material has dried, sand the area smooth to blend it with the surrounding surface. Use a fine-grit sandpaper to ensure the repair is seamless and flush with the rest of the wall.
Painting Techniques to Use After Preparation
Once youve completed the surface preparation for painting, its time to think about your painting techniques. Proper application can make a huge difference in the final result:
Use the Right Brushes and Rollers: The tools you use will affect the quality of your paint job. Use brushes and rollers designed for the surface and type of paint youre using (e.g., a roller for large flat areas and a brush for trim).
Apply Thin Coats: Apply thin, even layers of paint rather than one thick coat. Thin coats dry faster and help prevent drips, streaks, or uneven coverage.
Work in Sections: Work in small sections, ensuring you keep a wet edge to avoid noticeable lines between different painted areas.
Use Long, Smooth Strokes: When applying paint with a brush, use long, smooth strokes to achieve an even finish. Avoid overloading the brush to prevent drips or streaks.
Are you ready to start your painting or repair project? Proper surface preparation is essential for a lasting, professional result. If you need help with prepping walls or tackling home repairs, our expert team is here to guide you through every step. Contact us today for professional painting services and repairs that will transform your home!
Conclusion
Surface preparation is the foundation of any successful painting or home repair project. Whether youre prepping walls for a new coat of paint or repairing damaged surfaces, following the essential steps ensures a smooth, long-lasting finish. By taking the time to properly clean, sand, and prime the surfaces, youll achieve a polished, professional look that enhances your homes beauty and value. With the right techniques and careful preparation, your home will look as good as new in no time!